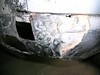
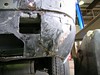
Last week was all about making the larger of the two patches for the RH rear. These are low, under the bumper line, which is why I had to remove the fuel tank.
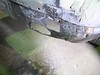
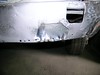
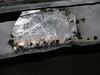
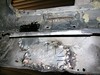
I began by inspecting more closely the repairs exposed by the removal of all that bondo. This first sequence tries to convey how uneven the surface is.

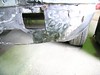
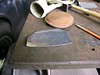
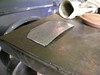
This patched needed a lot of shaping. To fit perfectly would require tricky compound curves. For this I don't need perfect, just a foundation upon to apply filler. I did spend some time trying to get it to fit nicely, but I wanted it welded in by the end of the day, so when it was as close as I could get it, in it went.
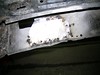
Today began with the discovery that none of the welds higher up were strong, so I had to redo that part. Not a big deal.
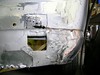
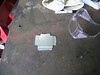

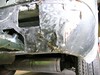
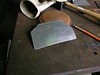
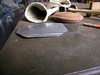
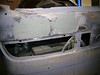
Next came cutting and shaping the smaller patch. This one also needed so compound curves but not as radical. I managed to get a closer fit. After welding and grinding I filled in the gaps with POR-15 Epoxy Putty. I also put a fiberglass patch on the small rust-through above the larger patch, using POR Patch.
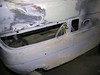
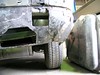
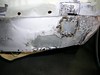
While the putty set up I went back to the LH side and sanded down the last batch of filler. That high spot under the tail light really causes a problem. I decided to let it show a little, but I did add back some of the filler I had ground off earlier. A compromise. If it takes too much filler I'll try hammering it down with a shrinking hammer.
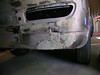
With the putty mostly set up I continued to play with the TECHNIFILL filler on the RH side. Having discovered why it is so thick over there I know it will require several applications before that area is smoothed out.
No comments:
Post a Comment