Sunday, June 28, 2009

Lotus rear hub bearings, pt. 3

The inner u-joint was a lot less trouble until the very end, but it was still a fight. One bearing ended up a tad tight. I hope this does not rob too much power!

By the end of the day I had istalled the driveshaft in the hub bearings, attached the inboard end of the driveshaft to the transaxle, and installed the forward trailing arm bolt. There were two shim washers between the mount and the trailing arm. In place of the roll pins on the driveshaft coupling I use precision ground AN bolts and self locking nuts.

First thing to do next time is to reconnect the brake hose.

Lotus0906028-01 Lotus0906028-02

Sunday, June 21, 2009

Lotus rear hub bearings, pt. 2

Happy Father's Day!

When I got home from the shop today I was treated to the most fantastic dinner, made all the better by having both my sons there. There was Kirin beer, steak, pepper cured bacon, two kinds of sausage, tomato and artichoke salad, summer squash, and rice pilaf. Dessert was a mocha chocolate pie. There are very few restaurants in Honolulu that could match that meal, at any cost. Pattie really outdid herself.

If there is one thing you can count on when working on old cars, it is that everything takes much longer than it should. By the start of today I had


  • Removed the entire trailing arm

  • Pressed out the drive shaft

  • Removed the hub carrier

  • Removed the bearings and seal

  • Painted the trailing arm and hub carrier with Rustoleum

  • Replaced the brake hose

  • Pressed in the new bearings and seal

  • Mounted the hub carrier

  • Installed the driveshaft into the bearings


Lotus0906022-01 Lotus0906022-02

Lotus0906022-03 Lotus0906022-04

Lotus0906022-04 Lotus0906022-05

Lotus0906022-06 Lotus0906022-07

Lotus0906022-08 Lotus0906022-09

Lotus0906022-10 Lotus0906022-11

Lotus0906022-12 Lotus0906022-13

Last Week I was ready to install the trailing arm when I decided to grease the u-joint. Simple. Only I could not get the grease gun fitting off of the nipple. The effort ended badly, as it so often does with old cars, when the nipple broke off. Up to that point I had decided against replacing the u-joints, but they are twenty years old and rather stiff, so that was the last straw. I ordered new bears from Dave Bean.

Today I figured I would spend an hour replacing the bearings, then continue putting things together, and at the end of the day I would face the problem of having two cars to drive home. Not a chance. By the end of the day I had one u-joint installed. Getting it apart was such an ordeal that I am glade I did not attempt it on the car, as I had planned. The big time killers were broken snap rings, cracked outer races, and filing the gouges created while taking it apart.

Lotus0906022-14 Lotus0906022-15

Monday, June 8, 2009

Lotus rear hub bearings, pt. 1

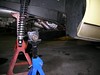
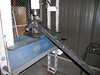
Yesterday was another all Lotus day. While changing the oil last week I investigated the squeak coming from the right rear wheel, and sure enough it was the dreaded worn wheel bearings. I ordered new seals and bearings for both sides from Dave Bean and they arrived mid-week (what great service!) so I got right to it. Polishing out the flaws in the clear coat will have to wait.

I have had the rear suspension off many times, but I have never done the hubs. It is a job that is notoriously difficult because the hub is installed onto the splined drive shaft with Loctite, and the book recommends heating the hub carriers to remove the bearings ... which means they are a really tight fit.

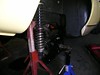
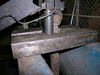
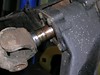
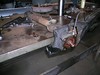
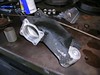
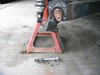
My first battle was trying to remove the brake drum. This is always hard. I really should design some sort of puller. As I pounded and tugged I could see that the hub was moving on the splines, which was weird, so I opted to take drum off with the hub. Worked like a charm. Once off I just tapped the hub off the drum.

Lotus090607-01 Lotus090607-02

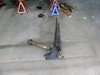
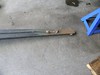
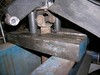
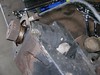
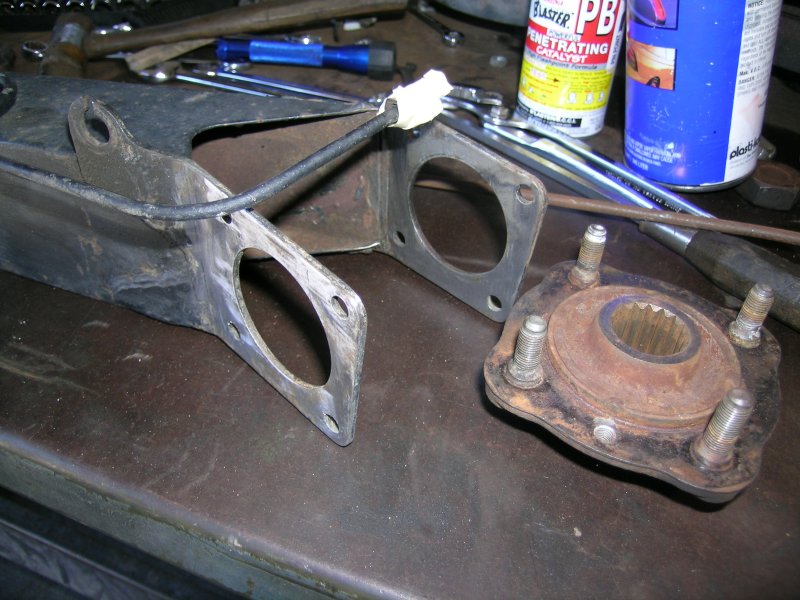
The stopper was in trying to remove the drive shaft from the bearings. It has to come off before the four bolts on the inboard side can be removed, at which point the hub carrier can be slid off the trailing arm. I hit it as hard as I dared, but most of the force was lost due to the hub carrier flopping around.

Lotus090607-03 Lotus090607-04 Lotus090607-05

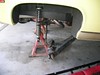
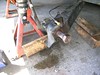
I knew my friend Patric has done this before, so I called to ask his advice and he recommends removing the trailing arm from the car and using a press. I hope to continue when the shop opens on Wednesday.

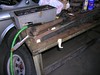
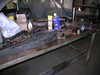
As for rust, the subject of this blog, the Lotus had a lot of light surface rust breaking through the steel frame and trailing arm. When I restored the car I wire brushed these areas and painted them with brushed on Rustoleum. I must say, all those places look great. The paint is strong and no signs of rust.

As for the starting thing, thr car started fine after sitting all week, and started right up after a stop at NAPA for some Castrol LMA brake fluid. Go figure.